Voice Changer
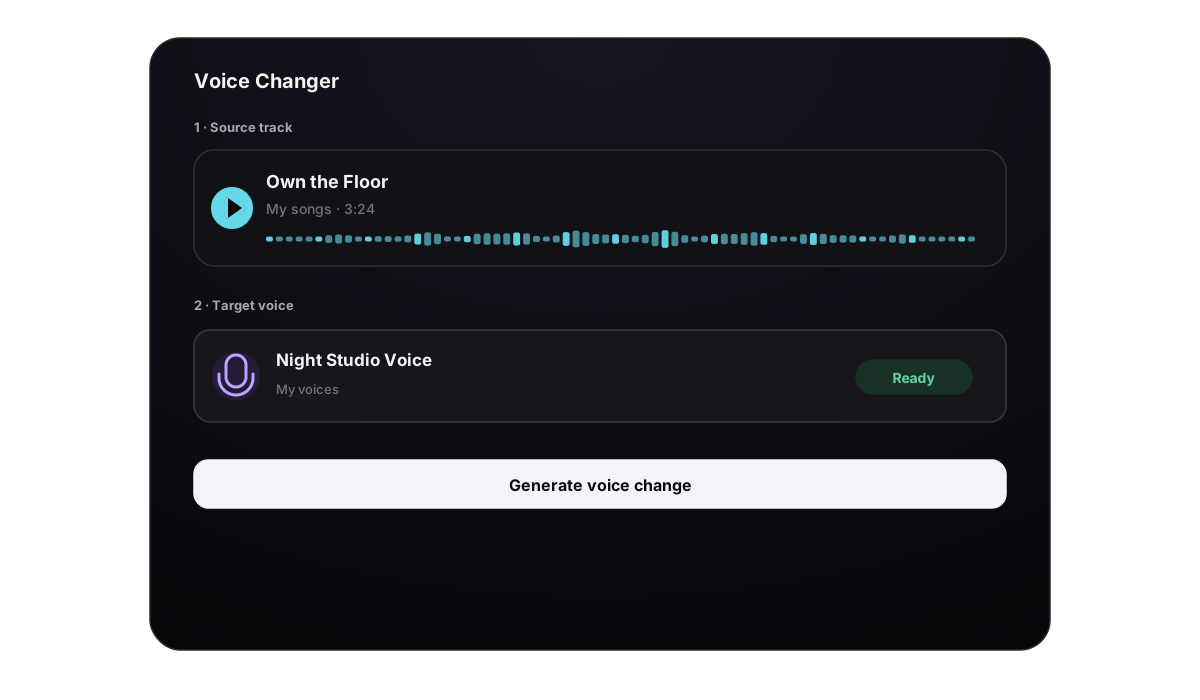
Voice Changer gives an existing performance a different vocal identity. You choose a source track, choose the target voice, and create one new audio result without rewriting the lyrics or rebuilding the arrangement.
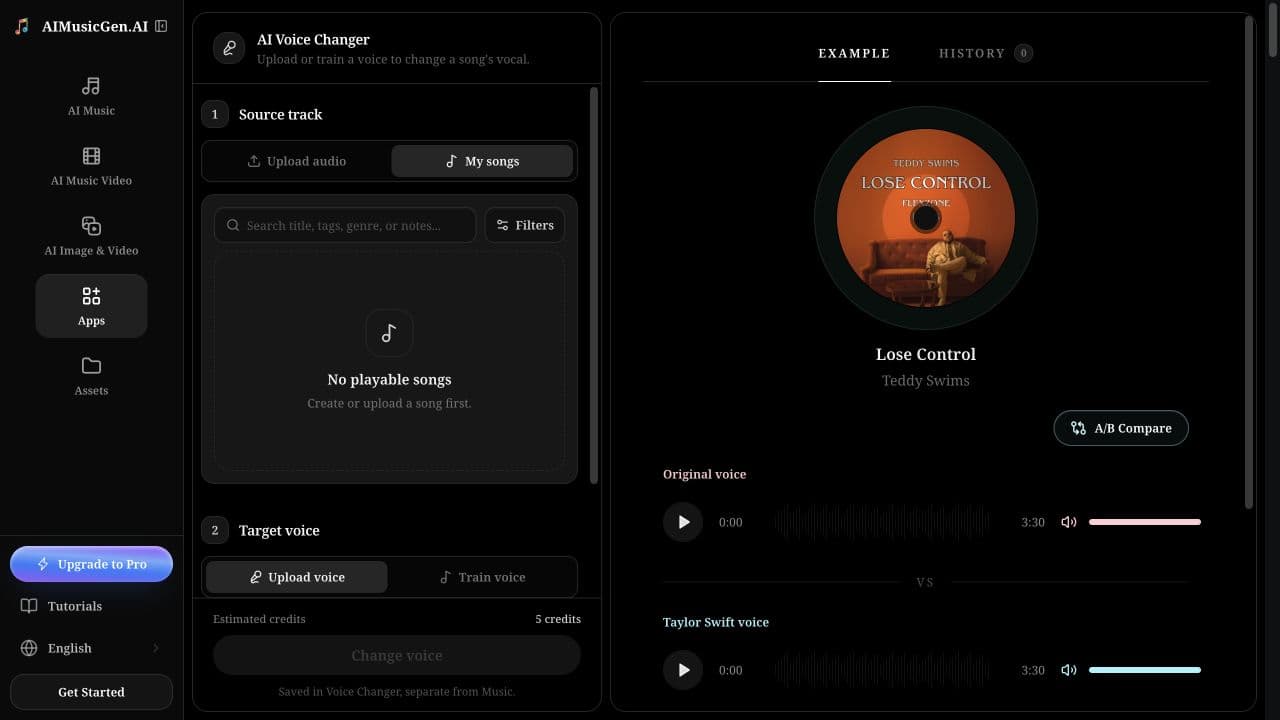
Open the AI Voice Changer directly, or open More actions → Remix → Voice Changer on a compatible song. The second path carries that exact song into the tool for you.
Know what Voice Changer changes
Voice Changer is the right tool when the performance is already usable and you mainly want a different voice.
| Your goal | Use |
|---|---|
| Change the vocal identity in existing audio | Voice Changer |
| Make a new song with a reusable verified voice | Voice Reference |
| Train a reusable model for Voice Changer | Create a Voice Model |
| Change the genre, instrumentation, or overall arrangement | Cover or Reuse |
| Remove the vocal or isolate instruments | Vocal Remover & Stem Separation |
The converted result normally follows the source timing, words, melody, and expression. It does not correct lyrics, create harmonies on command, or turn a one-time uploaded reference into a saved model.
1. Choose the source track
In Source track, choose one of these paths:
- My songs lists completed, playable songs from your Music workspace. Search or filter the list, preview a row, and select the exact version you want to convert.
- Upload audio accepts a local recording. Drop a file into the upload area or click it to browse, then use the player on the accepted card to confirm that you chose the right file.
Uploaded source audio supports the formats shown in the interface: MP3, WAV, M4A, FLAC, WEBM, OGG, and AAC. Keep the file at or below 50 MB and between 3 seconds and 8 minutes. If the browser cannot read the media type or duration, export the audio again to MP3, WAV, M4A, or FLAC.
Use a source with a clear lead voice. Very loud backing music, overlapping speakers, heavy distortion, or a vocal already covered in effects gives the converter less clean information to follow.
2. Choose the target voice
Source and target are separate choices. Selecting a song does not select a voice, and uploading a target voice does not select the audio that will be changed.
| Target path | What you select | Best for | Saved for later? |
|---|---|---|---|
| Upload voice | One local reference recording | A quick, one-time conversion | No |
| Train voice → My voices | A ready custom model | Repeated conversions with the same permitted voice | Yes |
| Train voice → Default voices | A built-in voice or instrument timbre | Trying a preset without preparing a dataset | Already available |
Use Upload voice for one conversion
Choose Upload voice, add a reference clip, and preview it before continuing. A useful clip contains one clearly audible voice with little background music, room echo, noise reduction, or pitch processing. Replace the clip when it does not represent the target voice clearly.
This upload is used for the current task. It does not appear under My voices and does not start model training.
Use a custom or default model
Choose Train voice and then:
- open My voices for your own models;
- open Default voices for the built-in groups;
- choose Train a custom voice when you need a new reusable model.
A custom model is selectable only when it shows ready and has a finished model file. A model still training remains visible but disabled. See Create a Voice Model before preparing the dataset.
3. Submit one conversion
- Preview the source from its card or the song list.
- Preview the uploaded target clip when you are using Upload voice.
- Confirm that the labels on the right compare panel identify the intended source and target.
- Check Estimated credits. A Voice Changer generation currently costs 5 credits.
- Select Change voice for an uploaded reference, or Generate voice change for a selected model.
The button stays disabled until both sides are valid. Select it once: clicking again after the form becomes available starts another paid task rather than continuing the first one.
Training a custom model is a separate 10-credit task. Training does not include a free voice-change generation, and a voice-change generation does not create a model.
Choose clean inputs for a useful result
The source and target contribute different information:
- Source: timing, words, melody, phrasing, breaths, emotion, and the surrounding mix.
- Target: vocal color and identity.
For a first test, use a short passage with a clear verse and chorus. Avoid beginning with the hardest material in the project, such as rapid rap, whisper-to-belt jumps, dense ad-libs, or many overlapping singers.
Example: test a custom singing model
Use a clean completed song as the source and a ready model from My voices as the target. After the result completes, compare these moments first:
- the first consonant of each line;
- long vowels and held notes;
- the transition from verse to chorus;
- high and low notes at the edge of the singer's range;
- breaths and words close to loud drums.
If the whole result sounds unstable, improve the target dataset. If only one crowded section fails, try a cleaner source mix or use a less demanding passage for the conversion.
Example: use a one-time reference
Record or upload a dry, close voice sample in the same general language and register as the intended result. Choose it under Upload voice, then convert a short source. This is useful for deciding whether a voice is worth turning into a reusable custom model later.
Wait for the result
After submission, the compare panel shows the source while the target is being applied. The task then appears in History and moves through Processing, Completed, or Failed.
You can leave the page while processing. The History list checks for updates, so do not resubmit only because the result is not ready immediately. A failed generation follows the product's normal automatic refund handling.
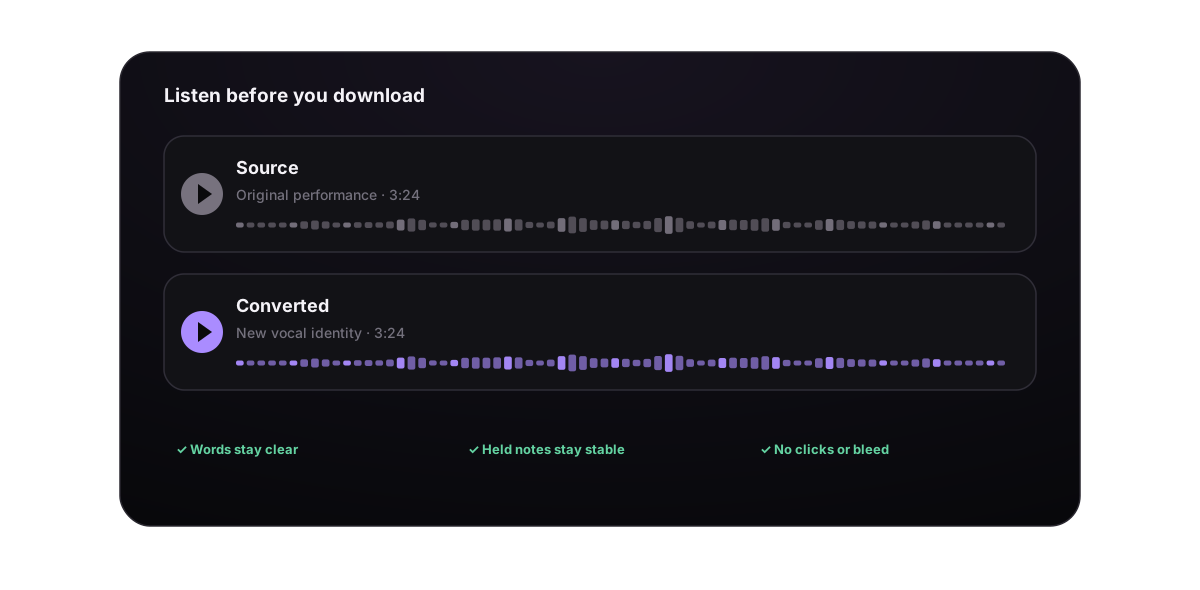
When the result is ready, use the A/B players to compare Source track with Your version. Listen from beginning to end and check:
- whether every word is understandable;
- whether consonants and breaths sound natural;
- whether held notes wobble or lose pitch;
- whether the voice changes suddenly between sections;
- whether backing vocals or instruments were mistaken for the lead;
- whether clicks, metallic sounds, or background bleed were introduced.
Manage Voice Changer history
Voice Changer results stay in their own History, separate from ordinary Music results. Use the search field and the All, Completed, Processing, and Failed filters to find a task.
From a completed history item, you can play it and open Generate Cover Image to generate a square image in Visuals, upload an image, or choose a completed Visual. Move to trash removes the voice-change item after confirmation.
Changing the cover does not change the audio. Moving a result to trash does not delete the original source song or uploaded local file.
Fix common Voice Changer problems
| Problem | What to try |
|---|---|
| No songs appear under My songs | Finish or upload a playable song first, then return to the tool |
| An upload is rejected | Use a supported audio format, stay under 50 MB, and keep duration between 3 seconds and 8 minutes |
| The action button is disabled | Confirm one source and one target; a custom model must show ready |
| A model is visible but cannot be selected | Wait for training to finish; processing models are intentionally disabled |
| The words are hard to understand | Use a cleaner source with a more exposed lead vocal and a cleaner target clip |
| The voice changes unevenly | Test a closer language/register match and remove clips with different speakers from the training set |
| The result copies background noise or reverb | Replace the target reference or training clips with drier recordings |
| The task remains Processing | Check History later instead of starting duplicates; use the status filter to find it |
| The task fails | Read the displayed error, confirm the inputs still play, then retry once after correcting the source or target |
Only transform audio and voices you have permission to use. A preset name, model name, or convincing result does not imply endorsement or grant permission to impersonate someone.
Next, learn how to Create a Voice Model or separate a mix with Vocal Remover & Stem Separation.
